How to Prepare Surfaces Before Any Interior Painting Project
Reading time: 14 minutes
Ever rolled fresh paint onto a wall only to watch it bubble, peel, or blotch within weeks? You’re not alone. According to a 2025 survey by the Paint Quality Institute, over 68% of DIY painting failures are directly attributed to inadequate surface preparation — not poor paint quality or wrong application technique. The frustrating truth? Most people skip the prep work because it feels tedious, unglamorous, and invisible once the color goes on.
But here’s the straight talk: Surface preparation isn’t the boring part of painting — it’s the entire foundation of a successful result. Whether you’re refreshing a bedroom in a city apartment, renovating a historic home, or flipping a property in 2026’s competitive real estate market, the prep work you do before you even open a paint can will determine whether your results look professional or amateurish for years to come.
This guide walks you through every critical stage of surface preparation, from assessing what you’re working with to applying the final primer coat — so your finished walls actually look as good as you imagined them.
Table of Contents
- Why Surface Prep Is More Important Than the Paint Itself
- Step 1 — Assess Your Surface Type and Condition
- Step 2 — Clean Every Surface Thoroughly
- Step 3 — Repair Cracks, Holes, and Imperfections
- Step 4 — Sand for Adhesion and Smoothness
- Step 5 — Prime Like a Professional
- Surface Prep Methods at a Glance
- Common Challenges and How to Overcome Them
- FAQs
- Your Pre-Paint Checklist: Roll With Confidence
Why Surface Prep Is More Important Than the Paint Itself
Imagine spending $300 on premium low-VOC paint — the kind trending heavily in 2026 as eco-conscious homeowners prioritize indoor air quality — only to have it peel off a greasy kitchen wall within six months. The paint wasn’t the problem. The surface was.
Paint adheres to surfaces through a combination of mechanical bonding (microscopic interlocking with surface texture) and chemical adhesion. If a surface is dirty, glossy, cracked, or damp, neither mechanism works reliably. The result is a paint film that looks fine initially but fails prematurely under normal conditions like humidity fluctuations, temperature changes, and routine cleaning.
Consider this real-world scenario: A homeowner in Portland renovated a 1970s-era bathroom in early 2025. She used a premium moisture-resistant paint but skipped the cleaning and priming steps, assuming the existing semi-gloss surface would hold the new coat. Within four months, the paint was delaminating near the shower area. A professional re-do — including proper prep this time — cost her $1,200 more than if she had done it right the first time.
The lesson isn’t dramatic. It’s simple: prep work protects your investment. And in 2026, with material costs up roughly 12% from two years ago (per the National Association of Home Builders’ 2026 Q1 report), nobody can afford to redo a paint job unnecessarily.
Step 1 — Assess Your Surface Type and Condition
Before you buy a single roll of tape or a drop cloth, spend 20–30 minutes walking through the space with fresh, critical eyes. Your prep strategy depends almost entirely on what kind of surface you’re dealing with and what condition it’s in.
Identifying Your Surface Material
Interior surfaces vary widely, and each has specific prep requirements:
- Drywall (new or previously painted): The most common interior surface in homes built after 1950. New drywall is porous and requires sealing. Previously painted drywall needs cleaning and potentially light sanding.
- Plaster walls: Common in homes built before 1960. Plaster is dense and durable but prone to hairline cracks, especially in older homes with settling foundations.
- Wood trim and paneling: Requires sanding to knock down grain and remove old finish. Knots in wood need shellac-based primer to prevent bleed-through.
- Masonry (brick, concrete block, stucco): Highly porous, often alkaline. Requires specific masonry primers and thorough moisture checks.
- Previously painted metal (radiators, pipes): Needs rust treatment if corroded, followed by a metal-specific primer.
Diagnosing Surface Conditions
Once you know what you’re working with, diagnose the condition systematically. Run your hand across the surface. Look at it in raking light (a flashlight held nearly parallel to the wall surface is excellent for this). Ask yourself:
- Is there existing paint that’s flaking, bubbling, or chalking?
- Are there water stains, mold spots, or grease residue?
- Do cracks run diagonally from door or window corners? (This may indicate structural movement, not just cosmetic cracking.)
- Is the surface glossy? (Gloss creates a slippery surface that resists new paint adhesion.)
- In older homes (pre-1978), is there a possibility of lead-based paint?
Pro Tip: If your home was built before 1978 and you suspect lead paint, purchase a lead test kit (widely available at hardware stores for under $15 in 2026) before sanding anything. Sanding lead paint creates hazardous dust. If lead is confirmed, consult an EPA-certified renovator for guidance on safe containment procedures.
Step 2 — Clean Every Surface Thoroughly
This step gets skipped more often than any other. People assume walls look clean enough. They rarely are. Even in rooms that aren’t kitchens or bathrooms, walls accumulate invisible layers of dust, skin oils, cooking vapors, and airborne grease — especially near doorways and light switches.
The Right Cleaning Approach for Different Rooms
Living rooms and bedrooms: A solution of warm water with a small amount of trisodium phosphate (TSP) substitute (TSP itself is restricted in many U.S. states as of 2026 due to phosphate runoff concerns) works excellently. Alternatively, a mild dish soap solution is effective for lightly soiled walls. Use a sponge, work from the bottom up to prevent streaking, then rinse with clean water and allow to dry completely — typically 24 hours in normal conditions.
Kitchens: Grease is the enemy of paint adhesion. Even walls that look clean harbor a thin film of cooking oils. Use a degreaser specifically formulated for pre-paint cleaning. In 2026, several plant-based degreasers have come to market that are highly effective and have minimal VOC content, a significant improvement over older solvent-based options. Pay special attention to the areas directly above and beside the stove.
Bathrooms: Mold and mildew must be treated before painting, not painted over. A solution of one part bleach to three parts water applied with a sponge will kill surface mold. Wear gloves and ensure ventilation. Allow the area to dry completely — and we mean completely. Painting over even slightly damp mold-treated surfaces will result in regrowth beneath the paint film.
Quick Scenario: You’re prepping a teenager’s bedroom that hasn’t been repainted in a decade. The walls look fine at first glance. But once you wipe them down with a damp sponge, the water comes off gray and dingy. That grime would have compromised adhesion for every square foot of that room. The 45 minutes you spend cleaning is saving you from a patchy, uneven finish you’d be staring at for years.
Step 3 — Repair Cracks, Holes, and Imperfections
Paint is not a filler. It does not hide cracks — it emphasizes them by creating shadows and texture variation under raking light. Every imperfection you don’t address at this stage will be more visible after painting, not less.
Matching the Repair to the Problem
Different defects require different repair approaches:
- Nail holes and small dents (under ¼ inch): Lightweight spackling compound applied with a finger or small putty knife, allowed to dry, then sanded flush. One pass is usually sufficient.
- Medium holes (¼ inch to 4 inches): Self-adhesive mesh patches backed with joint compound work well. Apply compound in thin layers — two to three thin coats yield better results than one thick coat, which cracks as it dries.
- Large holes (over 4 inches): Requires a drywall patch cut to size, secured with drywall screws to backing boards, then taped and mudded with joint compound. This is a multi-day process due to drying time between coats.
- Hairline cracks in plaster: Use a flexible paintable caulk rather than rigid joint compound. Rigid fillers crack again when the plaster expands and contracts seasonally. A caulk rated for interior use and paintable within 24 hours is ideal.
- Larger plaster cracks: V-groove the crack with a utility knife (widening the channel helps the filler bond), vacuum out loose material, dampen the area, then apply setting-type joint compound (not drying-type, which shrinks). Feather the edges wide — plaster repairs that fail almost always fail at their edges.
Case Study — The Historic Brownstone Renovation: A contractor in Chicago working on a 1920s brownstone in early 2026 documented that surface repair alone accounted for 40% of total preparation time on a four-room interior project. The plaster walls had over 200 individual cracks, many of which required multiple compound applications. The finished result, however, was so smooth that the homeowners initially thought the contractor had installed new drywall. That’s the power of thorough repair work done patiently and correctly.
Step 4 — Sand for Adhesion and Smoothness
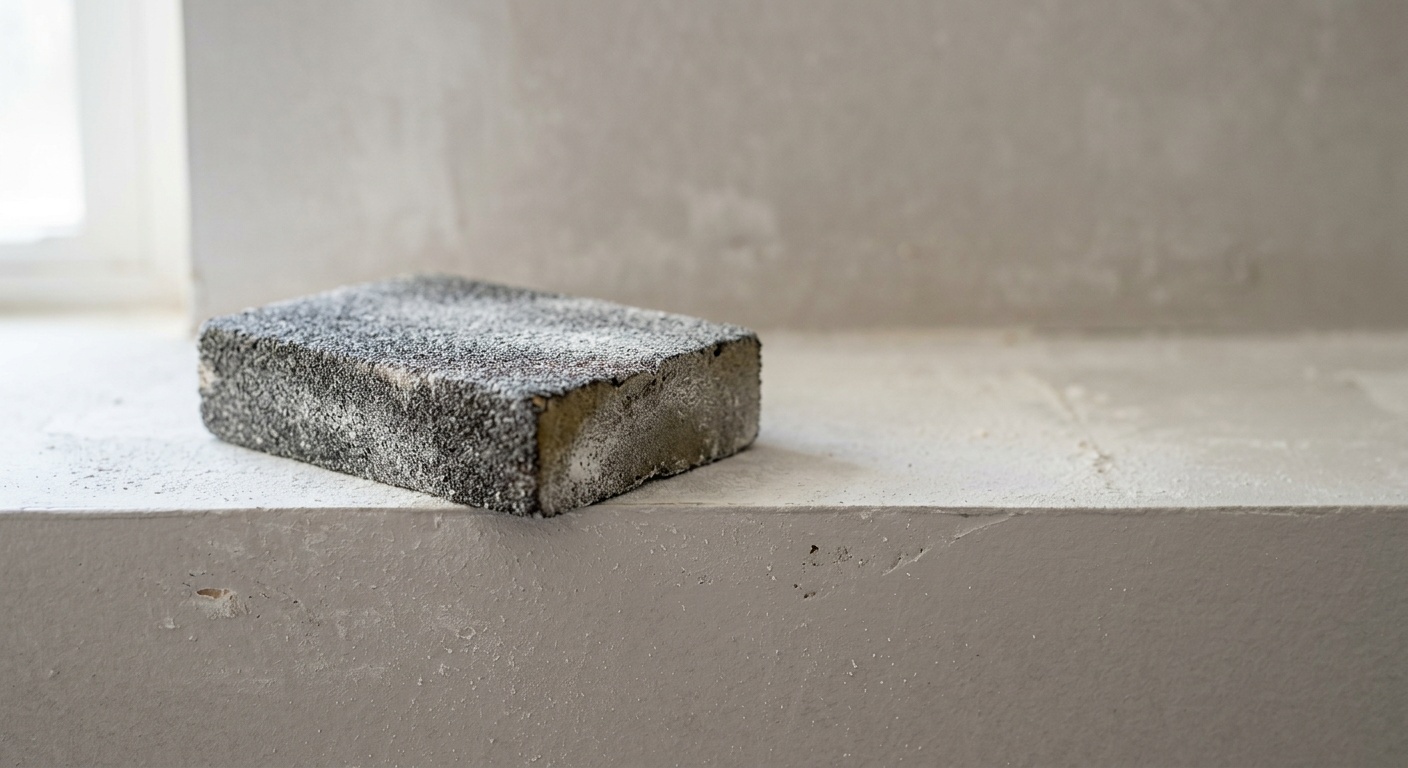
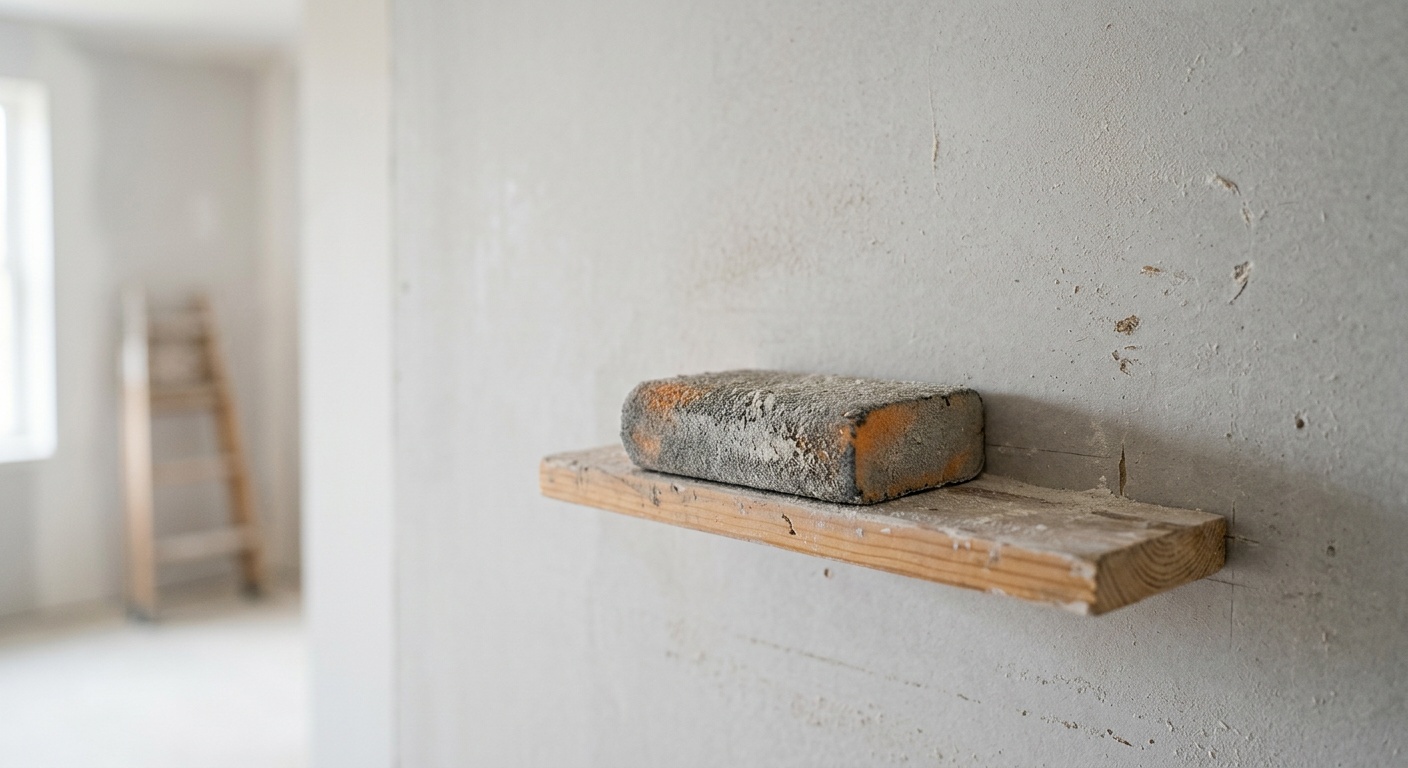
Sanding serves two critical purposes: it smooths out repair patches and surface irregularities, and it scuffs glossy surfaces to create the mechanical tooth that new paint needs to grip. Many painters — even experienced ones — underestimate how much sanding contributes to the final result.
Grit selection matters:
- 60–80 grit: For heavy material removal, stripping old paint edges, or leveling significant surface ridges. Use sparingly — too aggressive on drywall and you’ll damage the paper face.
- 100–120 grit: The workhorse for most interior prep. Good for knocking down compound ridges, scuffing semi-gloss surfaces, and smoothing wood trim.
- 150–180 grit: For final smoothing between compound coats and for final prep of wood surfaces before priming.
- 220 grit: For ultra-smooth finish work on trim and cabinetry. Between-coat sanding on wood projects.
After sanding, dust removal is non-negotiable. Use a vacuum with a brush attachment first, then wipe all surfaces with a tack cloth or a damp microfiber cloth. Sanding dust is so fine that it becomes airborne and resettles, forming a layer on every surface in the room. Painting over dust creates a rough, grainy finish and prevents proper adhesion. Give the room 30–60 minutes to let airborne dust settle before wiping down.
Pro Tip: Invest in a pole sander for wall and ceiling work. It dramatically reduces fatigue, covers more area efficiently, and — critically — keeps your sanding pressure consistent across the surface, which results in a more uniform finish than hand sanding alone.
Step 5 — Prime Like a Professional
Primer is the unsung hero of any paint project. Yet a surprising number of painters — including many who should know better — skip it or use “paint and primer in one” products as a genuine substitute for dedicated priming. The 2026 paint market is full of these combination products, and while they have legitimate uses (for light-color-over-light-color refreshes on previously painted, well-prepped surfaces), they are not equivalent to a proper prime coat in most renovation scenarios.
Choosing the Right Primer
The primer you choose should be driven by your surface conditions, not convenience:
- PVA (Polyvinyl Acetate) Drywall Primer: The standard choice for new or freshly repaired drywall. It seals the porous paper and compound surface so topcoats apply evenly rather than soaking in at different rates (which creates “flashing” — dull spots visible in certain lighting).
- High-Build Primer: Contains more solids and fills minor surface imperfections. Excellent for surfaces with light texture variation or areas with extensive patching. Popular in 2026 for renovation projects where achieving a smooth Level 5 drywall finish is the goal.
- Shellac-Based Primer: The gold standard for blocking stains, smoke damage, water stains, and wood tannin bleed-through. Fast-drying (30 minutes), but requires denatured alcohol for cleanup. Worth the extra effort in problem situations.
- Bonding Primer: For slick or difficult-to-paint surfaces like glossy paint, tile, glass, or laminate. Contains adhesion-promoting ingredients that mechanical sanding alone can’t fully provide.
- Masonry Primer: Formulated for the alkalinity of concrete, brick, and block surfaces. Neutralizes the alkali that can saponify (break down) regular latex paint.
Application Best Practices
Apply primer the same way you’d apply paint — with a brush for edges and a roller for field areas. Use a nap thickness appropriate to your surface texture: ⅜ inch for smooth walls, ½ inch for lightly textured, ¾ inch for heavily textured surfaces. Don’t rush drying time. Most water-based primers need a minimum of 2–4 hours before topcoating, though 24 hours in high-humidity conditions is safer. Oil-based and shellac-based primers need adequate dry time and ventilation.
Once primer is dry, lightly sand with 150–180 grit sandpaper to knock down any raised grain, dust nibs, or brush marks. Wipe with a tack cloth. This final micro-sanding step is what separates good results from great ones — it creates an ultra-smooth substrate that allows topcoat paint to lay down beautifully and evenly.
Surface Prep Methods at a Glance
| Surface Type | Cleaning Method | Repair Approach | Recommended Primer | Estimated Prep Time |
|---|---|---|---|---|
| New Drywall | Light dust removal only | Skim coat seams and screw holes | PVA Drywall Primer | 4–8 hours |
| Older Painted Walls | TSP substitute or mild detergent wash | Spackle holes; caulk cracks | High-Build or Bonding Primer | 6–12 hours |
| Plaster Walls | Damp sponge; mildew treatment if needed | Flexible caulk for hairlines; setting compound for large cracks | Alkyd or High-Build Primer | 1–3 days |
| Wood Trim | Degloss with liquid deglosser or sand | Wood filler for dents; caulk trim gaps | Shellac-based (knots); Alkyd (general) | 4–8 hours |
| Bathroom/Kitchen Walls | Degreaser; bleach solution for mold | Waterproof spackle; mold-resistant caulk | Moisture-resistant Bonding Primer | 8–24 hours |
Prep Time Impact on Paint Results
How preparation time correlates with paint job longevity (years before repainting needed):
Based on composite data from Paint Quality Institute reports (2024–2025) and professional contractor surveys.
Common Challenges and How to Overcome Them
Challenge 1 — Painting Over Glossy Surfaces
Glossy paint presents one of the most common prep dilemmas for DIYers. You have a beautifully painted room but the semi-gloss or gloss finish from a previous paint job creates a slick surface that new paint simply won’t grip. The solution has two routes: physical deglossing (sanding with 120-grit sandpaper until the sheen is completely dulled) or chemical deglossing (liquid deglosser applied with a rag). Chemical deglossers are faster but less thorough for heavily glossed surfaces. For best results, use both: chemical deglosser followed by a light sand. Then prime with a bonding primer before topcoating.
Challenge 2 — Water Stains and Smoke Damage
Painting over water stains or smoke damage without proper treatment is one of the most heartbreaking prep mistakes because it’s so deceptively invisible at first — and then so obviously visible once the new paint dries. Water stains and smoke tannins bleed through even multiple coats of regular latex paint. The only reliable solution is a stain-blocking primer. Shellac-based primers like Zinsser BIN are the industry standard and reliably block virtually any stain type. Water-based stain blockers have improved significantly by 2026 and work well for moderate staining, but for severe smoke damage or heavy water stains, shellac-based remains the professional’s choice.
Challenge 3 — Peeling or Flaking Existing Paint
If existing paint is peeling, you cannot simply paint over it. You need to address the cause and remove the failing paint. Peeling typically results from moisture intrusion, poor original adhesion, or incompatible paint layers (oil over latex, for example). Start by scraping all loose and peeling paint with a wide putty knife. Feather the edges of remaining paint with sandpaper so there’s no abrupt ledge. Identify and address the moisture source if relevant. Then repair, prime, and repaint. Painting over peeling paint without this process will simply transfer the failure to your new layer — more money and time wasted.
Frequently Asked Questions
Do I really need to prime if I’m using a high-quality paint in 2026?
Yes, in most renovation scenarios. While modern paints have improved their self-priming capabilities, dedicated primer still serves a function that topcoat paint cannot fully replicate — specifically, sealing porous or variable-absorbency surfaces, blocking stains, and providing a chemically optimized bonding layer. “Paint and primer in one” products are best suited for repainting a clean, smooth, previously painted surface in a similar color. For new drywall, significant repairs, stain-prone surfaces, or dramatic color changes, a separate prime coat remains the professional standard and will protect your investment significantly better.
How long should I wait after cleaning before painting?
At minimum, surfaces should feel completely dry to the touch and have been allowed to air dry for at least 24 hours in normal temperature and humidity conditions (65–75°F, 40–60% relative humidity). In bathrooms or high-humidity spaces, extend this to 48 hours if possible. Painting over even slightly damp surfaces is one of the leading causes of paint failure — moisture trapped beneath the film leads to bubbling, blistering, and adhesion loss. If you’re working in a tight timeline, use fans and dehumidifiers to accelerate drying, but do not compromise on dryness confirmation before priming.
Can I use a roller for both priming and patching compound application?
You should use a roller for priming large wall areas, yes — it’s faster and more efficient than a brush for field application. However, patching compound (spackle, joint compound) should always be applied with a putty knife or taping knife, not a roller. Using a knife gives you precise control over the fill depth and feathering, and allows you to skim the compound flush with the surrounding surface. A roller cannot achieve this level of precision. After compound dries and is sanded smooth, your roller is perfect for applying primer evenly across the repaired and surrounding areas.
Your Pre-Paint Checklist: Roll With Confidence
You’ve made it through the entire prep roadmap. Now let’s consolidate it into something you can actually use on project day. Here’s your practical, step-by-step preparation checklist before a single drop of topcoat touches your walls:
- ✅ Surface assessment complete — identified surface type, noted all defects, checked for lead paint risk in older homes
- ✅ Room protected — furniture moved or covered, drop cloths down, trim and outlets taped off
- ✅ Surfaces cleaned — walls washed with appropriate solution, mold treated, grease removed, allowed to dry fully (minimum 24 hours)
- ✅ All repairs made — holes filled, cracks addressed with appropriate compound or caulk, allowed to cure completely
- ✅ Sanding complete — repairs sanded smooth, glossy surfaces deglossed, dust thoroughly removed via vacuum and tack cloth
- ✅ Primer applied — correct primer type selected for surface conditions, full dry time observed, lightly sanded and re-tacked before topcoat
In 2026’s market, where paint materials, labor, and time all carry real cost, approaching a paint project with this level of methodical preparation isn’t perfectionism — it’s simply smart economics. A well-prepped surface means your paint lasts longer, looks better, and actually delivers on the transformation you envisioned when you picked that color.
The broader trend in home improvement is moving toward quality over speed — homeowners and professionals alike are recognizing that sustainability in home maintenance means doing things right the first time rather than cycling through repeated fixes. Surface preparation is the embodiment of that philosophy.
Here’s our challenge to you: Before your next painting project — whether it’s one accent wall or an entire home — schedule a dedicated prep day. Just one day before you ever open a paint can. Walk through each step in this guide, take your time, and see how dramatically different the finished result looks compared to anything you’ve done before. The paint gets all the credit. But you’ll know the truth.